Showing posts with label Scor-pal. Show all posts

Friday, March 17, 2023

Baby Shoe Box


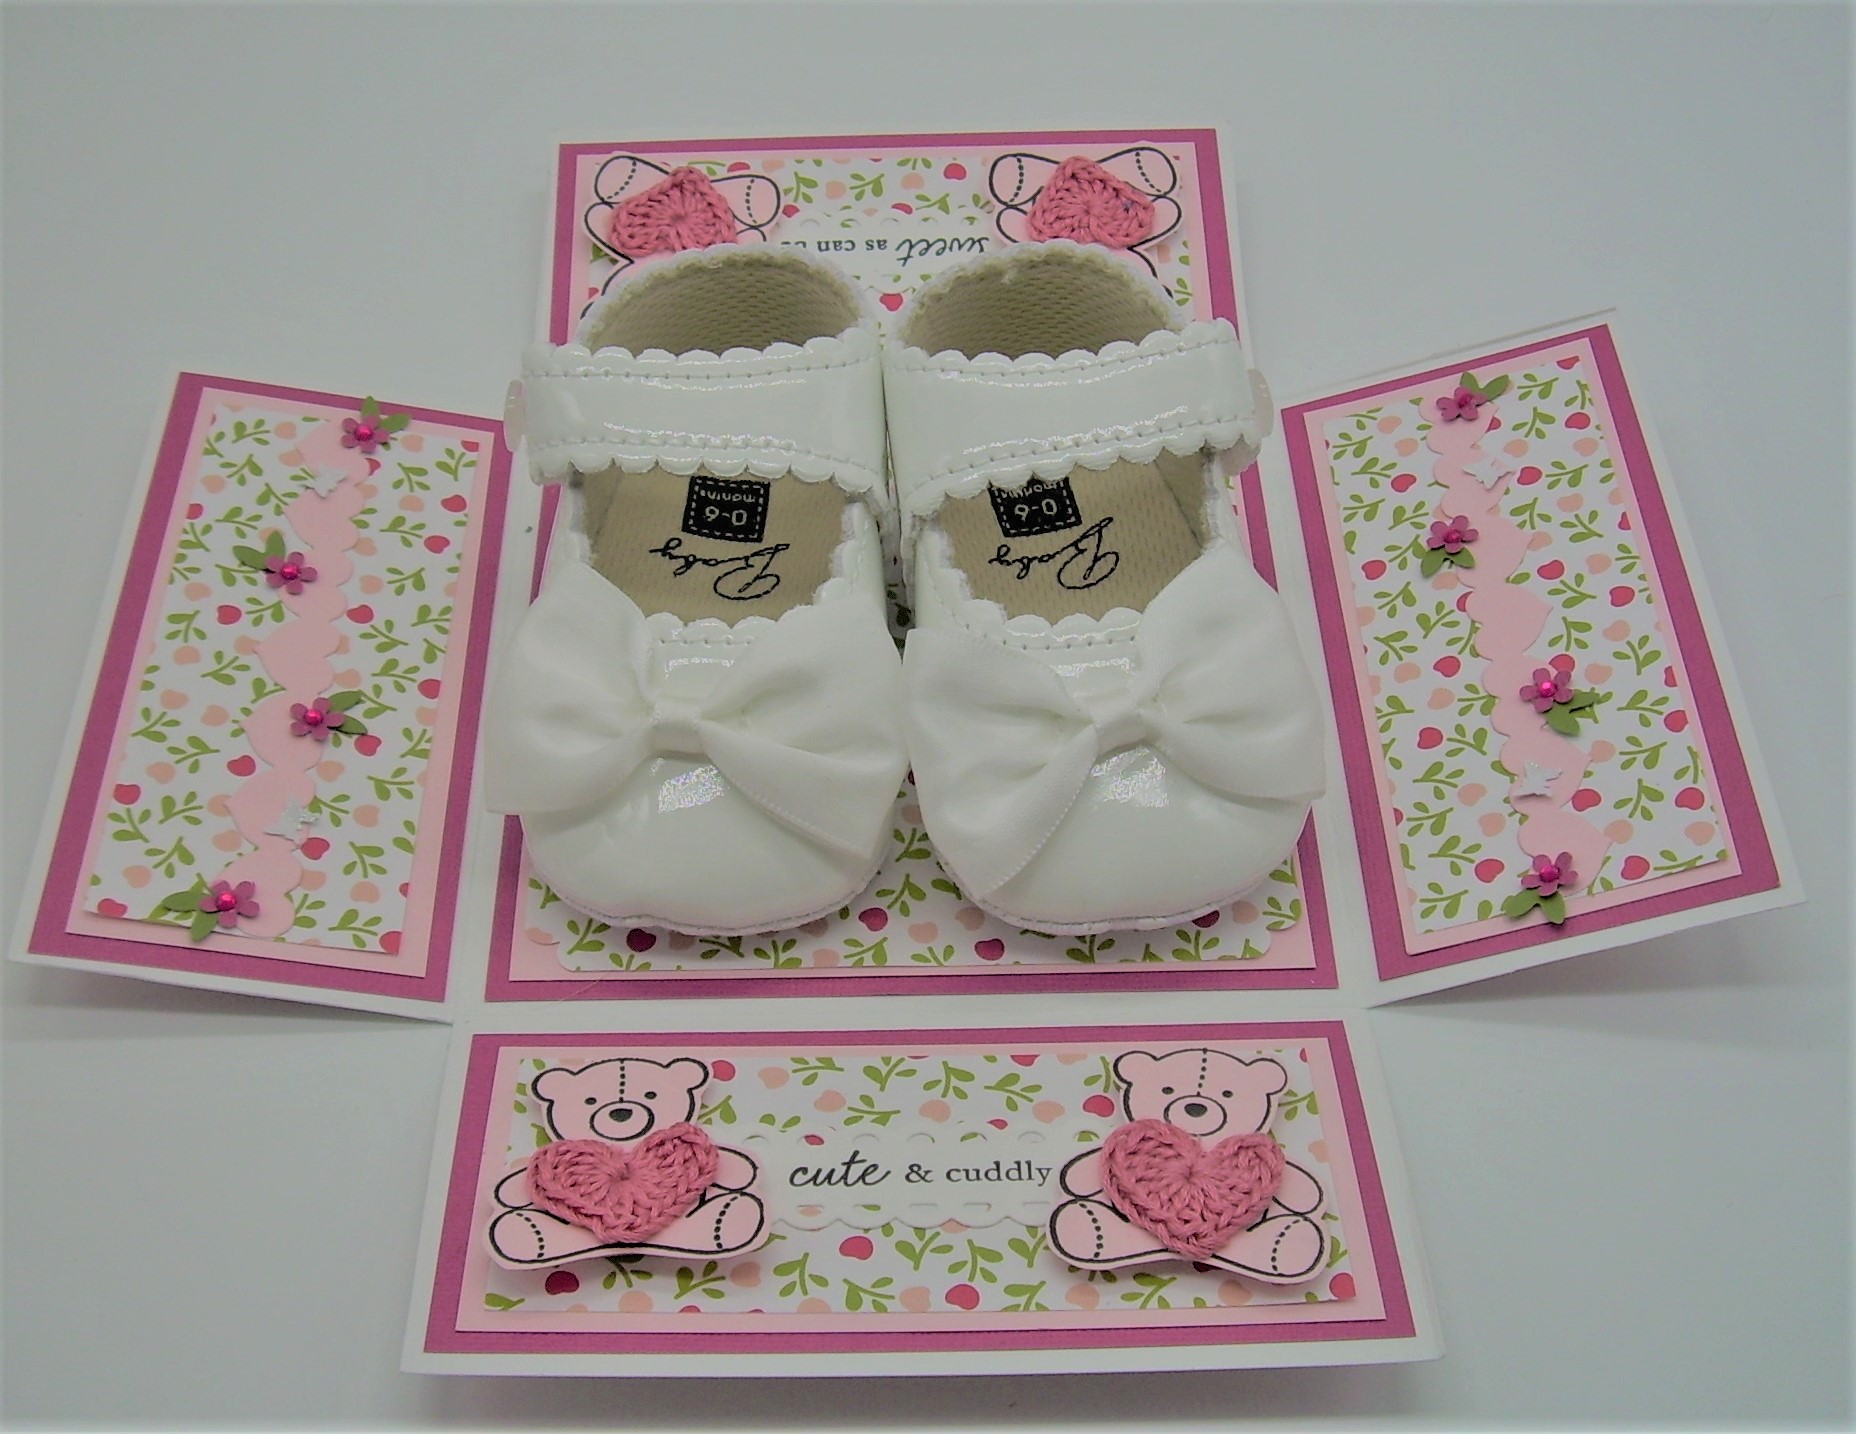
I just love baby shoes, they are just so darn cute.  A friend of mine at work is expecting a baby girl so I decided to make her a small gift.


I bought these great shoes at Amazon and made them the focal point of my box.


Each side is decorated with homemade embellishments.  Tiny teddy bears holding crochet hearts.


\
Paper punch flower vine and lots of layers.


 Supplies:
Paper:  Bazzill, American Crafts
Stamps:  Papertrey Ink Baby Button Bits
Ink:  Momento and Versafine
Misc:  Baby Shoes, Heart Border Die, Crochet Hearts, Pop Up Dots, Flower and Leaves Paper Punches, Scor-Pal, Doily Die, White Tulle

Thanks for stopping by,

Sunday, August 12, 2018

Another Explosion Box & Tutorial


I recently joined the JOANN Loves Papercrafters on Facebook.  I've been in awe of the creations that all of those talented people have, so I decided to be brave and post something I made.  I posted the Baby Exploding Box and I received so many wonderful compliments, it just made my heart full.  I also received requests for the directions, and since I had another one to make for another lady at work, I decided to get to work on it.

First, take a 12 x 12 piece of cardstock and score at 3 1/2 inches on each side.


Then, cut out the corner pieces.


Here comes the fun part, time to decorate and embellish!  One thing that I do that I think gives the box a bit more stability is to make double panels (or layers) of paper on the sides of the box.  Here you can see how I decorated the outside of the box.


Next, flip it over and decorate the inside.  I did the two layers of cardstock and then added some die cut doilies.  Since this is for a baby girl, I wanted to give it a lacey girly look.


Next, I made the lid.  Math is not my strong point, so I tend to do things the hard way.  My Dad is a retired Chemical Engineer, my Brother is CFO/CPA, my Sister is a Teacher, and my Mom can figure anything out!  So the technical gene, skipped me!  So, to make the lid I used a piece of white card stock and scored at 1 1/2 inches on two sides.  Now, if you measure the bottom of the box, you will find that it is 5 inches x 5 inches.  At the 1 1/2 score line, I measured 5 inches plus two little lines on the ruler, and then scored on that line.  Then I measured 1 1/2 inches and cut the paper.  Rotate the paper and do the same thing.  Clear as mud?!  You can also try cutting a piece of cardstock 8 1/8 inches and score it on each side at 1 1/2 inches.  You will want to notch the corners on lid so that it will fit inside with showing.

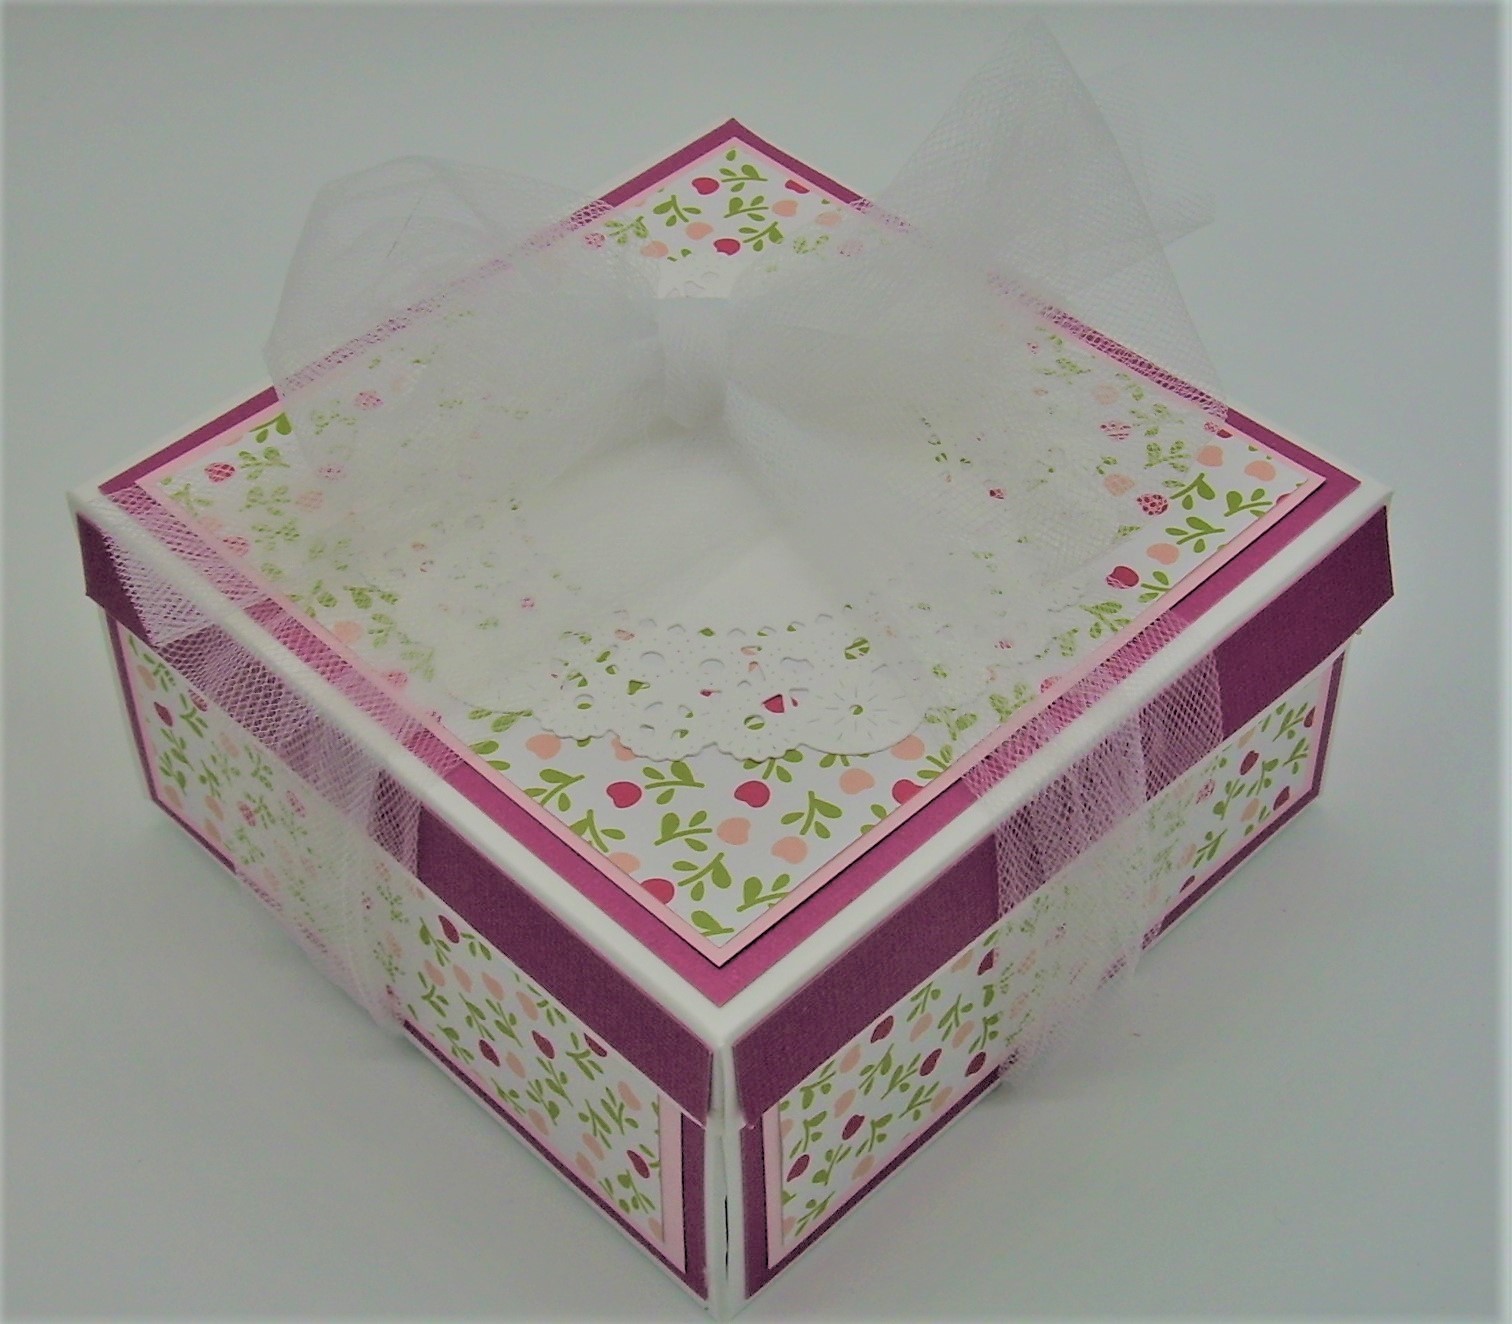
I decorated the top of the box, but forgot to take a picture of it before I put it all together!


I embellished the inside with some paper flowers, butterflies, and two cute babies I cut using my Cricut.  I put a tiny bit of adhesive on the bottom of the shoes to hold them in place.


I put the lid on the box, tied it with a tulle bow and put it next to my purse to bring to work tomorrow.

Supplies:
Stamps:  Papertrey Ink-Baby Button Bits
Ink:  Versafine
Paper:  Bazzill, The Paper Studio, Recollections, Pebbles
Misc:  Tulle, Scor-pal, paper punches, half pearls, pop up dots, My Favorite Things Oval Doily Die, Mama Elephant Mini Bow Die, baby shoes, Cheery Lynn French Pastry Doily Die

Thanks for stopping by,

Saturday, August 11, 2018

Exploding Baby Box


One of the lovely ladies I work with is having a baby, any day now.  I haven't made an explosion box in awhile, so I thought this would be the perfect time.  The pictures are kind of hard to see because the base of the paper is white and my background is white.  But, its this super cute grey and blue fox paper by Echo Park.


The box is made with two layers of panels on  both the outside and the inside of the box.  The lid held it together, but I have some white tulle and I love the way it looks when use it for a bow.


Are you ready for the big reveal to see what's inside of the box?


Tiny sneakers!!!!!  I just love baby shoes.  I know they don't get to wear them for very long, but I think that they are super cute.


I embellished the inside of the box with some Quickutz Fox die cuts, My Favorite Things Die-namics stars and sentiments from Papertrey Ink Baby Button Bits.

Supplies:
Stamps:  Papertrey Ink-Baby Button Bits
Ink:  Versafine
Paper:  Echo Park, The Paper Studio
Misc:  Scor-pal, buttons, My Favorite Things Stars Die-namics, Quickutz Fox Die, white tulle, pop up dots, tiny sneakers

Thanks for stopping by,


Monday, July 2, 2018

4th of July Treat Cup Holder


My favorite holiday is just two days away, the 4th of July!  I'm planning on spending the day with my sister, so I thought I would make her a little treat holder.


Using my handy dandy Scor-pal, I made this box that holds two 2oz. souffle cups.  Each cut holds three Hershey Kisses and some M & M's.  I decorated it with some paper punch art, a cupcake pick, and a scalloped square.

Supplies:
Stamps:  Studio G-Sentiment
Ink:  Versafine
Paper:  Authentique, Bazzill, The Paper Studio, Recollections
Misc:  Paper punches, Cricut, Black fine line pen, cupcake pick, souffle cups, pop up dots, Scor-pal, Baker's twine

Thanks for stopping by,

Monday, February 5, 2018

My First Box Card


This card has taken me forever!  I can't tell you how many times I have taken it apart and remade it.   It's literally taken me a month, but I think I 'm finally satisfied with the finished product.


I decided to go with a Harry Potter theme.  It's made entirely from varies cut files with my Cricut.  For the actual box, I used my Scor Pal.  The actual box part was pretty easy, I just followed along with tutorial on Splitcoaststampers.  You can find it here.


Thanks for stopping by,

Saturday, September 3, 2016

Scrapbook Pages For Your Favorite Wizard

I decided to step out of my comfort zone and try something new.  I chose to try and make some scrapbook pages.  Some of my family members are huge Harry Potter fans and since I've been having a hard time finding Harry Potter themed scrapbook supplies, it was time for me to make my own.


I cut 1/2 inch strips of card stock to make the background paper.  The grey brick paper was made using my Scor-Pal and then sponged some black ink to give it more definition. 


This is a close up of my boy wizard and his super smart owl.


I received a Cricut Expression for my birthday.  I've been practicing a lot with it.  It's amazing how much cleaner the cuts are with the 365 degree blade.


To add a little magic to the the page, I added some paper punched stars that can be adhered to the pages.


The banners are my favorite part of this page.  It can be put on the page anyway you want to have it.


P.S.  If you are interested, I will be listing these and some more in my Etsy Shop.


Supplies:
Paper:  Recollections, Bazzil, Color Bok
Ink:  Memento
Stamps:  Jo-Ann Fabrics Alphabet
Misc:  Pop up dots, Cricut Create a Friend and Create A Critter Cartridges, Scor-Pal, toothpicks, baker's twine, paper punches, black Sharpie, glasses brads

Thanks for stopping by,

Saturday, April 16, 2016

K-Cup Gift Box

I've been in a serious funk lately.  I've made some incredibly ugly cards, some of which have wound up in the trash and unfortunately wasted a lot of paper.  I had these grandiose ideals about some beautiful cards and they just didn't pan out the way I had intended. 

My local Publix Grocery Store sometimes has K-Cups on their clearance rack for only $1.00 a box! Needless to say I will buy them all!  The last time I picked up 10 boxes.  They vary from the Publix brand (which is very good), Starbucks, New England Coffee, McDonalds, and many more.  I keep half and give the other half to my sister.

Speaking of my sister, who just happens to be a teacher...so I decided to make a teacher appreciation gift with my haul of K-Cups.  I scoured the internet to try and find one I liked, so I settled on this one as my inspiration.


Using my Coluzzle and my Scor-Pal I constructed the box.  It holds 4 K-Cups.  Then I used my Cricut to make the coffee cups.  They are embellished with a few paper punches, a crimper and some apple brads.

The tag was stamped and then attached with a homemade button and some baker's twine.


Inside the box, I made a little chalkboard and stamped the sentiment.  Then I die cut teacher out of some glitter card stock and finished it off with a paper punched apple.


I thought the coffee holder needed a little jazzing up, so I added a die cut apple.

Supplies:
Stamps:  Papertrey Ink:  Teacher's Apple & Wonderful Words:  Teacher
Ink:  CTMH, Papertrey Ink
Paper:  Recollections, Little Yellow Bicycle, MME, Bazzill
Misc:  Coluzzle, Scor-Pal, brads, Papertrey Ink teacher, button, and apple dies, paper punches, pop up dots, crimper, Cricut Love You A Latte Cartridge, Mama Elephant Bow Die, baker's twine

Thanks for stopping by,

Tuesday, March 8, 2016

Hoppy Easter

 Hoppy Easter and candy is on the way, yay!!!


I'm always looking for fun new ways to give gifts.  This time, I used the Cricut Craft Room and designed this handy box.  It has two pockets, one on each side, and in the center is handy center pocket that is perfect to hold a gift card or a small little present.


I colored and paper pieced my hunny bunny, and then adhered her to the front of the box with pop up dots.   I am hopelessly addicted to the Dollar Spot at Target and buy (more like hoard ) the holiday themed pencil packs like they are the Hope Diamonds!  I decided to break open one of my spring packs and make a pinwheel.


Supplies:
Stamps:  My Favorite Things-Hunny Bunny and Purple Onion Designs-Cracked Egg Sentiment
Ink:  Momento
Paper:  Recollections, Paper Studio, My Favorite Things, and unknown designer paper
Misc:  Copics, pop up dots, tissue paper, candy, Scor-Pal, brad, pencil, My Favorite Things Perfect Pinwheel Die-Namics, baker's twine, button

Thanks for stopping by,

Sunday, March 29, 2015

Hershey Kiss Bouquet


I've been working on this project for literally the past two weeks!  In an attempt to make the perfect Hershey Kiss flower, my trash cans are over flowing, there is paper everywhere, and a lot of empty candy wrappers floating around!  

So, I had this idea in my head, but unfortunately it didn't translate well into the finished  product, hence why it took so long!

Using my Cricut, I cut out some flowers.  They are two different sizes and attached with a pop up dot in the middle.  Then, I hot glued a lollipop stick to the back.  Once that was dried, I attached the Hershey Kiss to the center of the flower.  I tied a piece of wired ribbon on to each of the sticks. 


Then, I made a box with my Scor-Pal.  Originally, I had wanted a small flower pot for my flowers.  I searched high and low for some small plastic flower pots, but I could only find the orange clay ones, and I was worried them breaking.  Also, I wasn't too sure that my flowers would match.  So, I just made my own.  I stuck a piece of floral foam in the box and covered it with some paper shred.  I stuck my flowers into the foam.


I made a pick for my floral arrangement with my favorite Dandelion Designs stamps.


Supplies:
Stamps:  Dandelion Designs - Easter Bunny & Sentiment
Paper:  Recollections, Simple Stories
Ink:  Memento, Versafine
Misc:  Cricut Plantin School Book Cartridge, Scor-Pal, My Favorite Things Scallop Border and Bows Die-Namics, floral foam, paper shred, Hershey Kisses, wood skewer, pop up dots, wired ribbon, paper punches, Nestabilities, hot glue gun, lollipop sticks

Thanks for stopping by,

Sunday, January 11, 2015

A Sweet Valentine Story

Remember the old Life Savers Sweet Story Book?  I used to love them, we always brought them for the Christmas gift exchanges in elementary school.

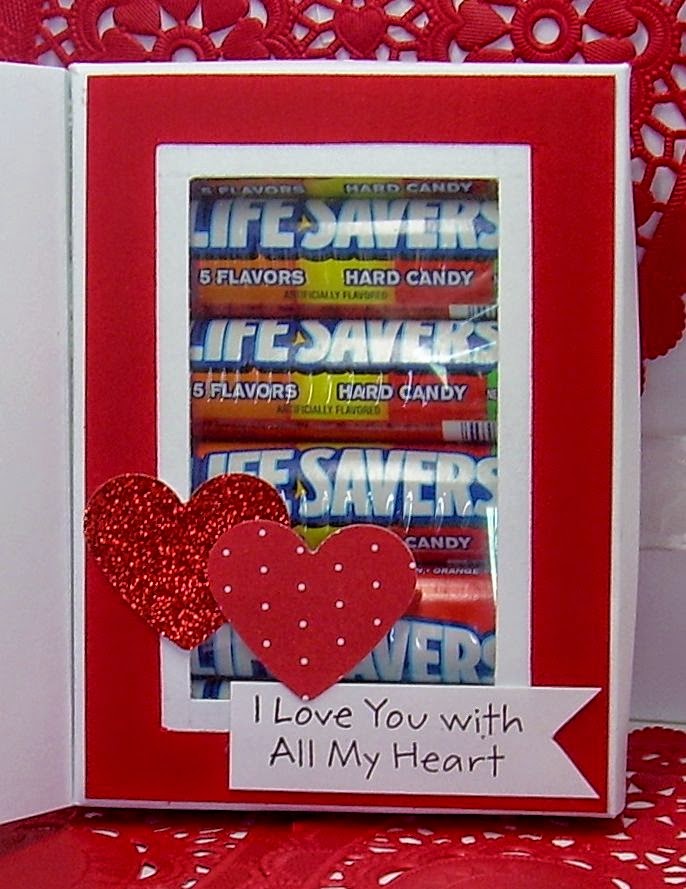
Over the years, they have changed a bit.  I bought one after Christmas, while they were on sale.  It was a little disappointing, when I opened it up, they now only have candy on one side of the book.  

I thought I could "trick" it up a little with a little Beth-A-Palooza flair.  Since Christmas is over, I decided to make my sweet story book for Valentines Day.


Using my Scor-Pal, I made my "book".  I used the original packaging as the template.  The image is Pure Innocence I Luv You With All My Heart.  I colored her with Copics and paper
pierced her dress and the big heart Valentine that she is holding.  Diamond Glaze was added to the heart to give it a little bit of texture.


This is the inside of my sweet story.  The sentiment is from the same PI set.

Supplies:
Stamps:  My Favorite Things-Pure Innocence I Luv You With All My Heart
Ink:  Memento, Versafine
Paper:  Neenah, American Crafts, Bazzill
Misc:  Copics, Diamond Glaze, paper punches,  pop up dots, My Favorite Things Scallop Oval Die-Namics Die, Life Savers Sweet Story Book, Scor-pal, ribbon

Thanks for stopping by,


Friday, August 29, 2014

Nail Polish Cupcakes Tutorial


Here is the tutorial to make the Nail Polish Cupcakes.  I decided to a Halloween theme to demonstrate the versatility of this project.  Plus, it's an excellent non-candy treat for your favorite trick or treaters!

You will need one of these, Wilton Nut & Party Cups:

Nut & Party Cups

First, I cut three strips of 1 3/4 inches patterned paper.  Then, using my handy dandy Scor-Pal, I scored every 1/4 inch of all three strips.


Glue all three strips together to make a circle.


Using a hot glue gun, carefully glue your circle around the cup.  This will be the "cupcake" wrapper.


This next step is optional.  I wanted to make my cupcake "taller", so I hot glued the top of a prescription bottle to the bottom of the nut cup.  Then, I adhered, the bottle of nail polish with a small pop up dot to the prescription bottle top.


The frosting was made with some orange paper shred that I just bunched around the stem of the nail polish bottle.


To decorate my cupcake, I made a festive cupcake pick and accented with some tiny button spiders.


Supplies:
Stamp:  Stampendous-Bugs & Hisses
Ink:  Versafine
Paper:  American Crafts, Bazill, Recollections
Misc:  Hot glue gun, pop up dots, Wilton Nut & Party Cup, Nestabilities, Paper punches, tiny button spiders, prescription bottle cover, spider web die cut, paper shred, nail polish

Thanks for stopping by,