Friday, April 29, 2011

More Tiny Tissues and a Tutorial


I received a note from a fellow stamper/papercrafter from Splitcoast regarding my Tiny Target Tissues. She was wanting to make them for decorations for her son's wedding reception and needed the measurements. Now, one of my favorite things to do besides watching sports, movies, rocking out, crafting and hanging with my kitties, is to throw stuff in the trash! Well, I threw the measurements out. We won't mention how I accidentally threw out my teapot and flower dies from Papertrey Ink, I still cry about that. I plan on replacing them, but it's very depressing! I gave all of the little tissue boxes that I made to Mom and Laura, so I didn't even have one to measure. So, I decide that I will go to Michaels, because I saw them there, and will make one up to get the measurements. Well, I went to Michaels, and there was one Mary Engelbreit one left. But, someone opened it up and used some of the tissues! Who does stuff like that? If you need a tissue, why wouldn't you to go the ladies room and get a paper towel or toilet paper? It made me angry, like the day someone put their garbage from their car in my bicycle basket while I was at work. I'll never understand what possess people to do the stuff they do. Back to the post, they did have some little boxes of tissues that had monograms on them, so all is well. It doesn't matter what letter is on it, because it is going to be covered up anyway.

So, without further ado:

To make the sides of the box, you are going to cut two pieces of card stock 3 inches by 6 1/2 inches. Score at 3 inches and 6 inches.


To make the top, you are going to cut a piece of card stock 4 1/8 inches by 4 1/8 inches. Score at 1/2 inches on all four sides. Cut the little notches in the corners of the lids so the sides match up when you adhere it together. I used my Coluzzle to cut the hole in the lid.


Just follow the assembly instructions from the tutorial on Splitcoast.

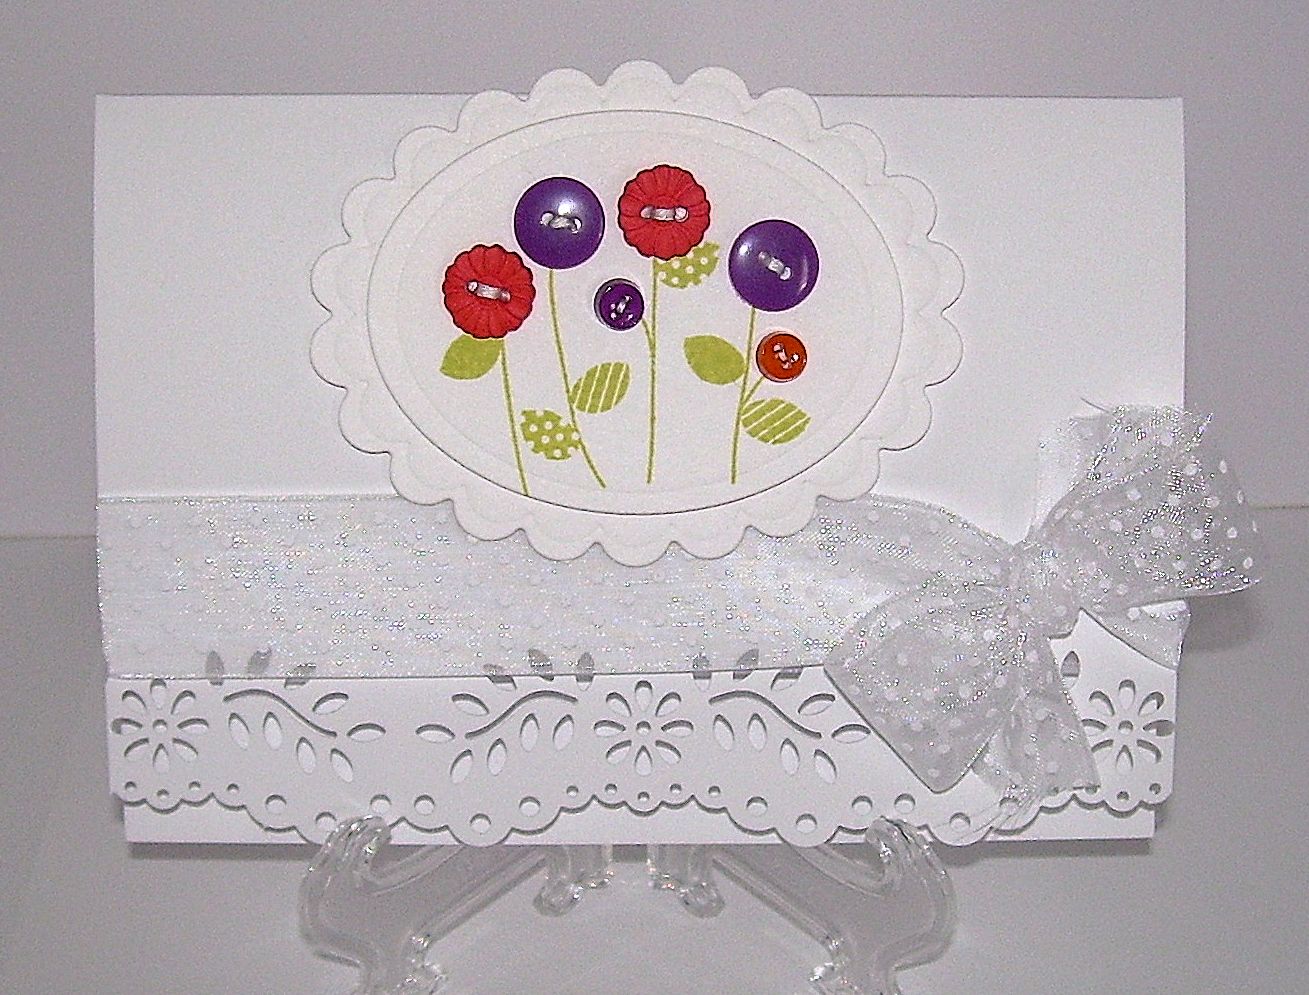
Then, you just decorate it the way you want to! I made this for my friend Heather. She is celebrating her first Mother's Day this year. I bought a couple of extra boxes of tissues that I will give to her so she has refills.


Supplies:
Stamp: Dandelion Designs-Happy Mother's Day
Paper: October Afternoon, Bazzill, Recollections, My Mind's Eye
Misc: Tiny tissues, paper punches, half pearls, pop up dots, coluzzle, nestabilities

Ink: Versafine

Thanks for stopping by,

Wednesday, April 27, 2011

Etsy Shop Update

I just finished listing some bucket covers and mug cozy/notepad sets in my shop. I didn't get out of work late, and some of the pictures of the mug cozies were really dark, so I'll take some more tomorrow and list them asap. The Bitty Bags will be listed tomorrow as well.

Thanks for stopping by,

Last Minute Mother's Day Gifts/Etsy Shop

I hope everyone had a nice Easter. I had to work, but Oscar and Tedy were quite pleased with their special Easter treats when I got home.

Are you still wondering to give to your special Moms for Mother's Day? I have been very busy sewing the last few days and have lots of ideas to help you decide. I've been making bucket covers, mug cozies with matching notepad sets, and bitty bags. Unfortunately, I have to get ready to go to work now, so I will be listing them in my Etsy shop tonight, when I get home.

Here is a sneak preview:

Mug Cozies.....


Bitty Bags.....


Bucket Covers....


Thanks for stopping by,

Saturday, April 23, 2011

Bunny Lolli-pops


Here is a quick post with a last minute Easter treat. I made these quick lollipops with my Bunny Body Kits from my Etsy shop. I plan to hand these out to my regulars at work tomorrow.

Supplies:Paper: Bazzill, RecollectionsMisc: Chalk, pop up dots, ribbon, black sharpie pen, white gel pen, lolli-pops, bunny body kits

Sorry for the short and sweet post, I'm off to work. . . .

Thanks for stopping by,

Thursday, April 21, 2011

Mother's Day Card


Here is a card that I made for my Mom. I just hope that she acts surprised when I give it to her!

I used some more of paper that I bought at the Scrapbook Expo. It's called Gertie's Paper by My Mind's Eye. The flower pot was made using a square paper punch, then I just cut a strip of paper and used a Martha Stewart edge punch to make the flower border on the lip of the pot. I put pop up dots on the center of the flower pot, then sticky strip on the edges. This gives it a little more dimension. I punched out the flowers, attached them with pop up dots and added some pretty buttons to the centers. I did a little machine stitching around the layers to give it a finished edge. The sentiment is from Dandelion Designs.

I made a paper bag envelope for the card. It's kind of a thick card, and since I will be handing it to her, the bag words perfectly. I made a matching tag for the envelope and modge podged a little strip of paper onto the clothespin to hold the bag shut. I figure that she could display the tag on her fridge or on one of her quilts that she has in her sewing room.


Supplies:
Stamps: Dandelion Designs-Happy Mother's Day, JoAnn Fabrics-Alphabet
Paper: My Mind's Eye, Bazzill
Ink: Versafine
Misc: Paper punches, paper bag, modge podge, mini clothespin, pop up dots, buttons, nestabilities

Thanks for stopping by,

Wednesday, April 20, 2011

Sewing Lunch Box


I found this cute little lunch box at Michaels in the Easter section. I'm always looking for fun ways to package gifts, so I thought this would be perfect for my sister's birthday present. One of Laura's many talents is sewing. She has a new sewing room in her house and I thought that this would look nice in that room. Using the Nifty Fifties Cartridge and my Cricut, I cut the little sewing machine out. Then, I embellished the the box with a Martha Stewart tag, some buttons, ribbon, and paper punched flowers. The inside of the lunch box was filled with some birthday surprises.

Supplies:
Paper: Recollections, K & Company
Misc: Cricut, nifty fifities cartridge, half pearls, pop up dots, doily tag, sewing buttons, paper punches, dmc floss, lunch box

Thanks for stopping by,

Tuesday, April 19, 2011

From the Desk of...Everyday Button Bits


Here is another card set/desk organizer using the From The Desk Of template. I saw these great cards by Maile Belles in Papercrafts 350 Cards & Gifts on page 16, and I knew I had to case them.

I changed the cards up a little. I used a Martha Stewart punch to edge the bottom of the card. Using the same color combination, I stamped the stems onto ovals that had been cut and embossed using Nestabilities. All of the layers were popped up using pop up dots. Then I attached the buttons.


I love the little file folders, so I cut some out using my Coluzzle. The labels were made using a few paper punches and some buttons.

For the box, instead of cutting the circle out, I used the same Martha Stewart punch on the front panel, to match the card. A large white bow was tied around the box.

Supplies:
Stamps: Papertrey Ink-Everyday Button Bits
Ink: Memento
Paper: Recollections
Template-My Timeless Templates-From the Desk of
Misc: Buttons, ribbon, pop up dots, nestabilities, coluzzle, paper punches


Thanks for stopping by,

Monday, April 18, 2011

From the Desk of...


Mom, Chuck, and I went to the Scrapbook Expo in Orlando and I bought a bunch of new goodies, including this great paper. It is called "Mabel Papers" by My Mind's Eye. I'm supposed to be using supplies up, not buying them, but you can never have too much paper.

Using one of Lauren Meader's, My Timeless Templates, I created this desk organizer. The template is appropriately named, "From The Desk Of" and it can be purchased/downloaded at Papertrey Ink. The front is embellished with a little ribbon, some pearly swirls and a hand crocheted flower. I made four cards using the Mabel Papers, ribbon, and some Martha Stewart punched flowers. The sentiments is from My Favorite Things, "Framed Greetings" stamp set and matching die.


I used my coluzzle to cut out these mini file folders. The four folders are six inches long and they fit perfectly in the back of the organizer. The folders were embellished with some more paper punched flowers, pearls, and oval label. You can't seen in the picture, but the two RSVP pens have a little bit of paper inside the barrel to match the cards.


This would make a nice gift for a birthday or Mother's Day which is right around the corner.

Supplies:
Stamp: My Favorite Things-Framed Greetings
Ink: Versafine
Paper: Bazzill, The Paper Company, My Mind's Eye
Template: My Timeless Templates-From the Desk of
Misc: Coluzzle, pearls, ribbon, crocheted flower, paper punches, rsvp pens


Thanks for stopping by,

Tuesday, April 12, 2011

Easter Tags


In my never ending pursuit to use up supplies in my stash, I decided to make up some little Easter goody bags. I packaged some jelly beans into some glassine bags. I cut the tag out and then added one of my favorite Martha Stewart doilies. A little ribbon was weaved into the doily. A homemade flower embellishment was made using a tiny leaf paper punch and these flower buttons that I've had forever. I stamped the recipient's name on each of the tags. My favorite part of the project is the clothespin. Of course, I already had some, so bonus for me! I Modge Podged some designer paper on the the clothespin. While that was drying, I used paper punches and my Cricut to create the bunny. After it dried, I adhered the bunny face onto the clothespin with pop up dots.


Here is a close up of the tag:


Supplies:
Stamps: JoAnn Fabrics-Alphabet
Ink: Versafine
Paper: K & Company
Misc: Glassine bags, ribbon, buttons, paper punches, jelly beans, clothespins, modge podge, doilies, cricut, pop up dots, white gel pen, chalks, black sharpie


Thanks for stopping by,

Wednesday, April 6, 2011

Everyday Card Set

The new Paper Crafts 350 Cards & Gifts magazine has a ton of great projects, including card sets. I decided to make a set using some flower dies from Marianne Designs.


The set includes four cards and envelopes. Here are close ups of the cards.


>

Supplies: Stamps: Papertrey Ink-Handwritten Notes
Ink: Versafine Paper: Bazzill, K & Company
Misc: Ribbon, buttons, corner rounder, pearl swirls, clear acetate, marianne designs flower dies, tea dyed seam binding


Here is the box I made to hold the set of four cards and envelopes:


Thanks for stopping by,

Monday, April 4, 2011

Easter Bunny Jars


I saw these cute bunny jars at Momma's House, crEATive hAYes crEATions blog. Since I'm still trying to use stuff up that I have in my stash, I figured that these would make cute alternative to the traditional Easter Basket.


Like the Mail Box Easter Bunny, I used a variety of paper punches, nestabilities, and my cricut, I made the bunny face. A little ribbon and a pom pom finished them up.


Thanks for stopping by,